


Gifting has never been easier
Perfect if you're short on time or are unable to deliver your gift yourself. Enter your message and select when to send it.
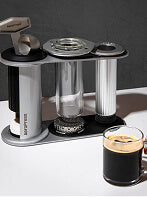
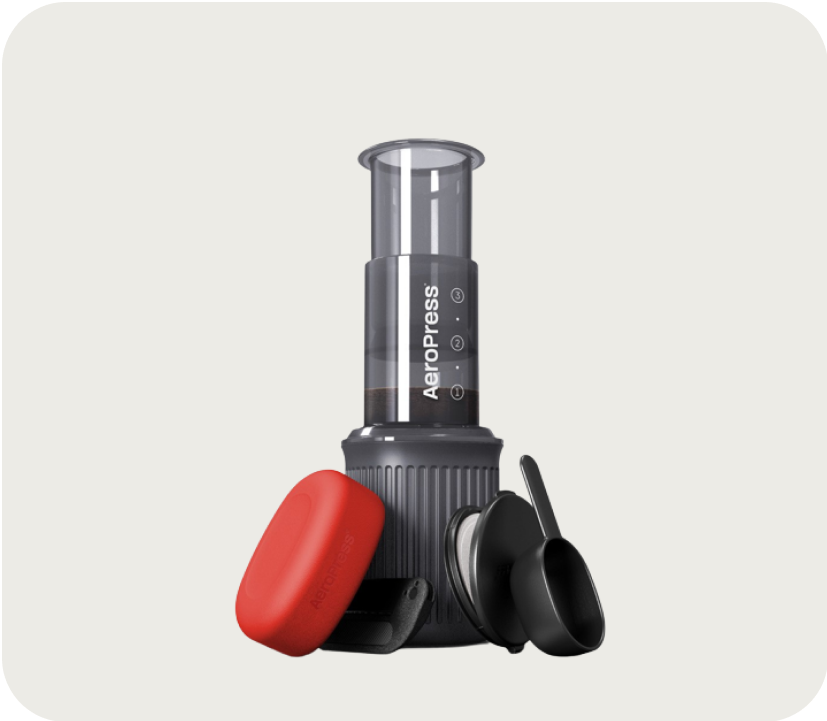
Get started with your AeroPress with a step-by-step guide on how to use it!


Register your product to extend your warranty to 2 years
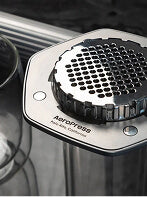
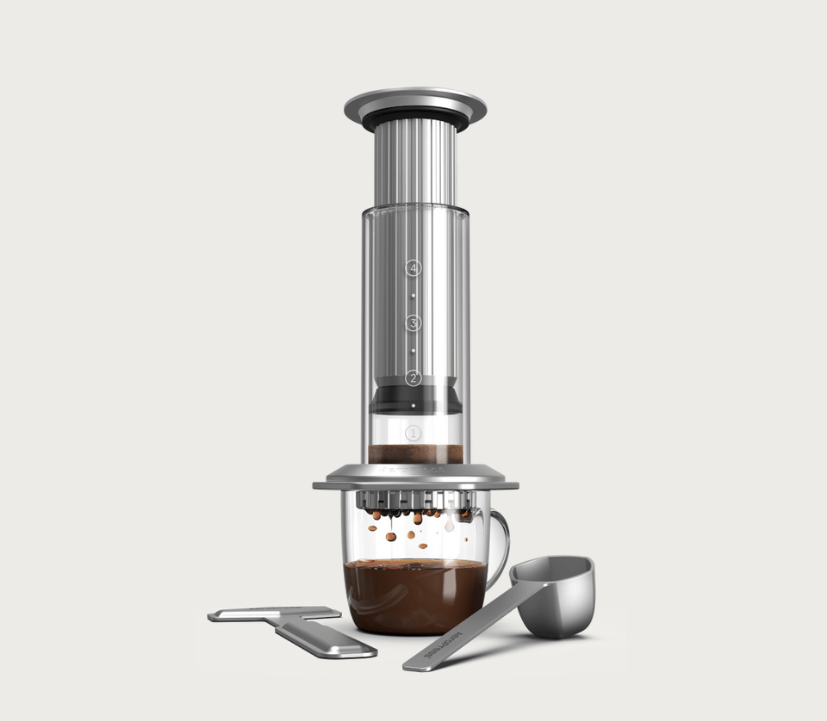
The AeroPress differs from a French Press in three key ways: it uses air pressure for rapid extraction which reduces bitterness, a paper micro-filter that eliminates grit for a smoother cup, and a much shorter brew time of about a minute.
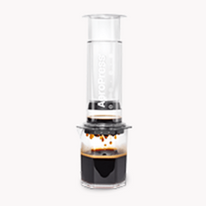
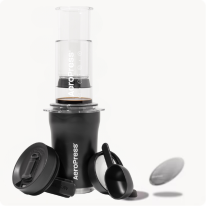
With the AeroPress 3 in 1 brew method, you can make a rich, smooth cup of coffee in about a minute.
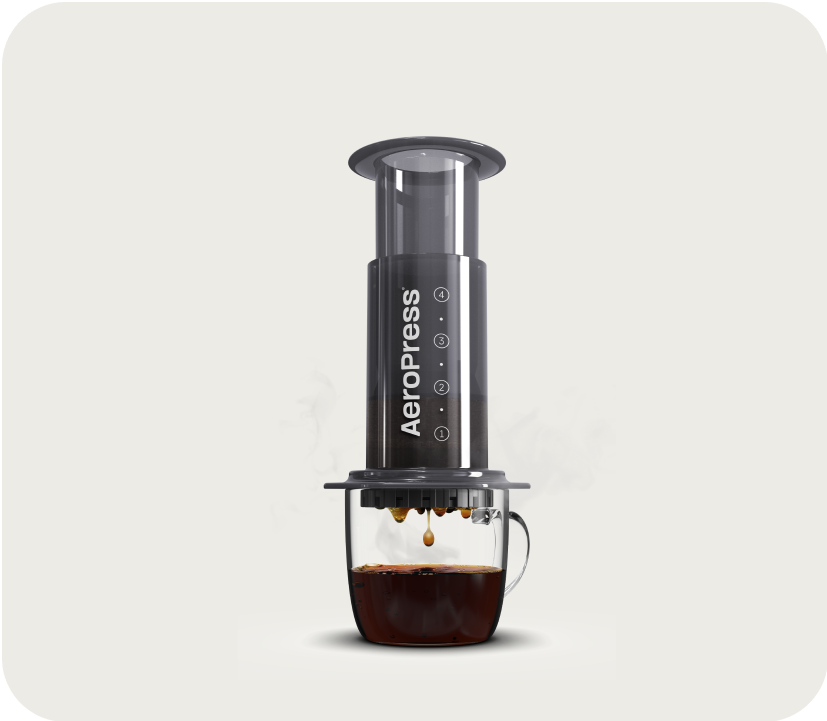
The AeroPress produces a uniquely versatile cup of coffee with a 3-in-1 flavor profile: it's full-bodied like a French Press, smooth like a Pour-Over, and rich like an espresso, all without any grit or high acidity.
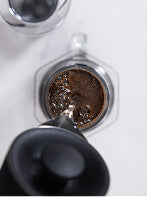
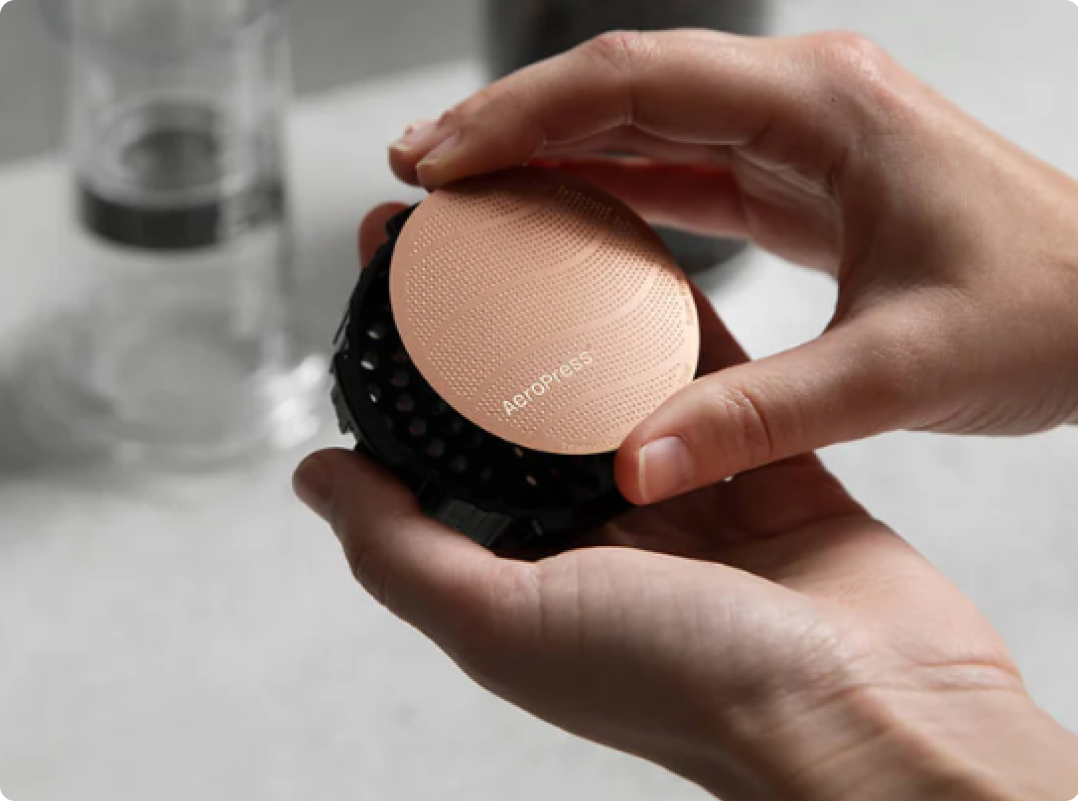
Yes, cleanup is famously fast. After pressing, the plunger pushes the used coffee grounds and filter out in a compact, dry 'puck' that can be popped directly into the trash or compost. A simple rinse of the plunger is all that's needed."
Cart
Your Cart is Empty!