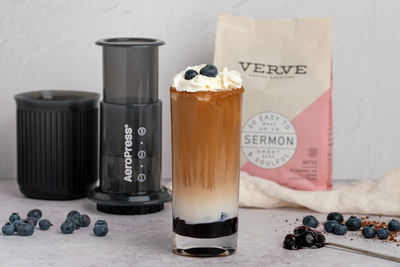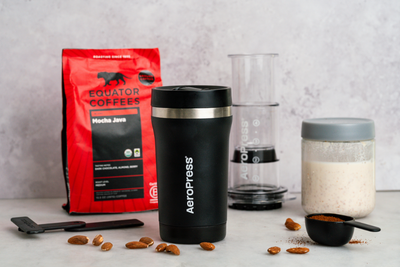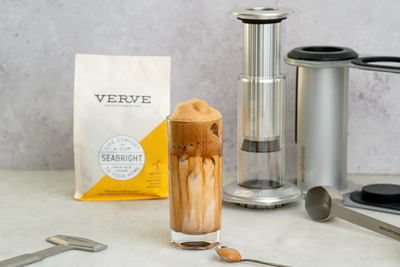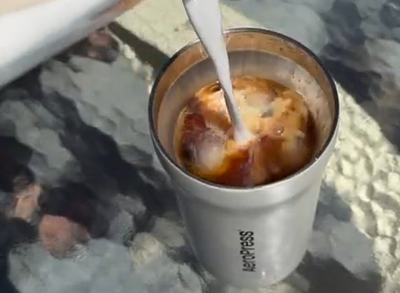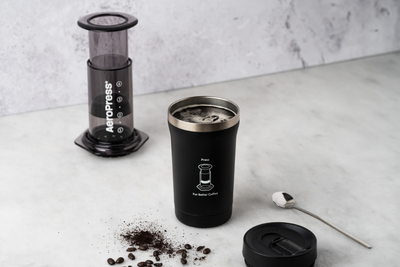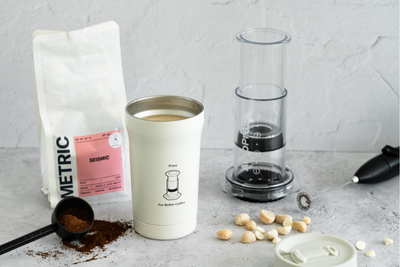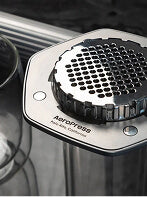


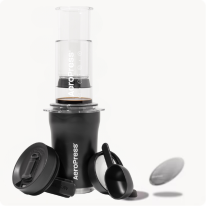


The AeroPress is one of the most versatile coffee brewers available. It excels in making all types of coffees from espresso-style to pour over-style. Outside of the AeroPress, my favorite brew method is a standard pour over. Most of the time I’m looking to make a pour over, I’ll use one of my pour over brewers. There are times when I am traveling or otherwise only with my AeroPress though that being able to replicate a pour over style recipe with the AeroPress is helpful.
How the AeroPress and pour over brewers differ
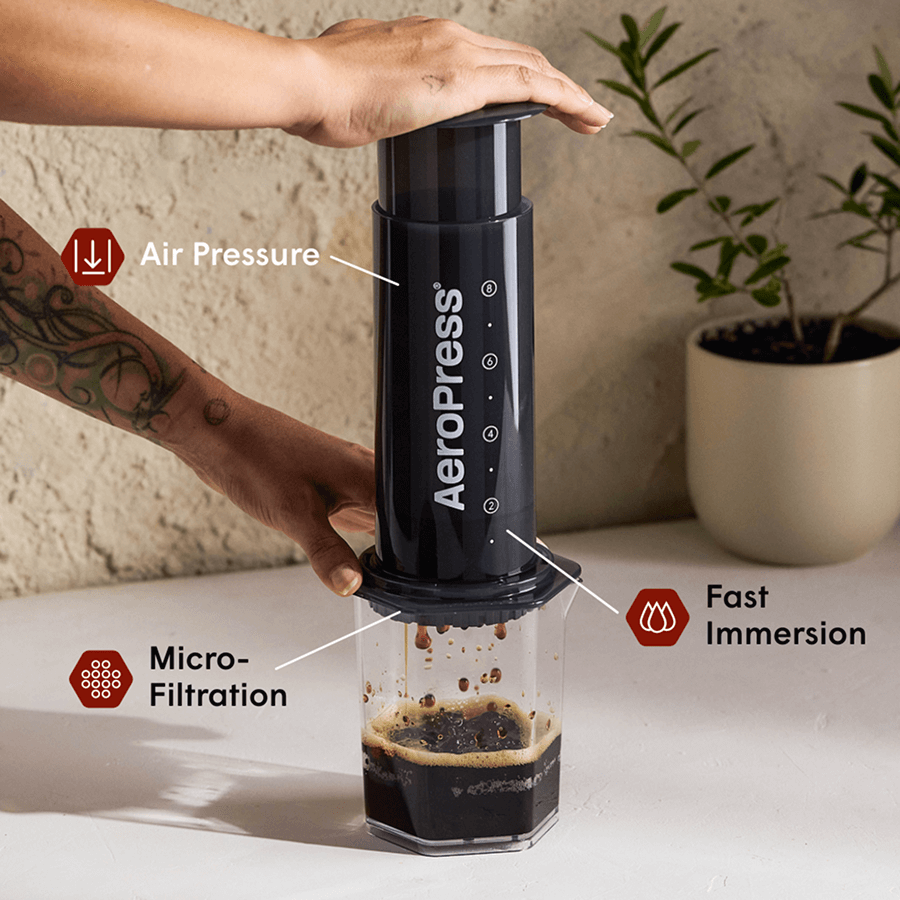
When comparing the AeroPress to pour over brewers, two notable differences lie in their brewing mechanisms and size limitations. The AeroPress, with its compact design and smaller brewing chamber, is ideal for individual servings and travel-friendly brewing (unless you have the AeroPress XL, which works for brewing for 2-3 servings!). Its immersion brewing method, combined with additional pressure applied during extraction, results in a quicker brew time and a fuller-bodied cup of coffee. In contrast, pour over brewers typically offer larger brewing capacities and rely on gravity to extract flavors from the coffee grounds, resulting in a lighter-bodied brew. This recipe looks to pull as much as we can from the pour over brewing experience while using the AeroPress.
How to make a pour over style AeroPress
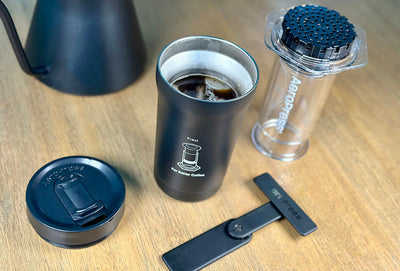
Step 1: Prepare the AeroPress
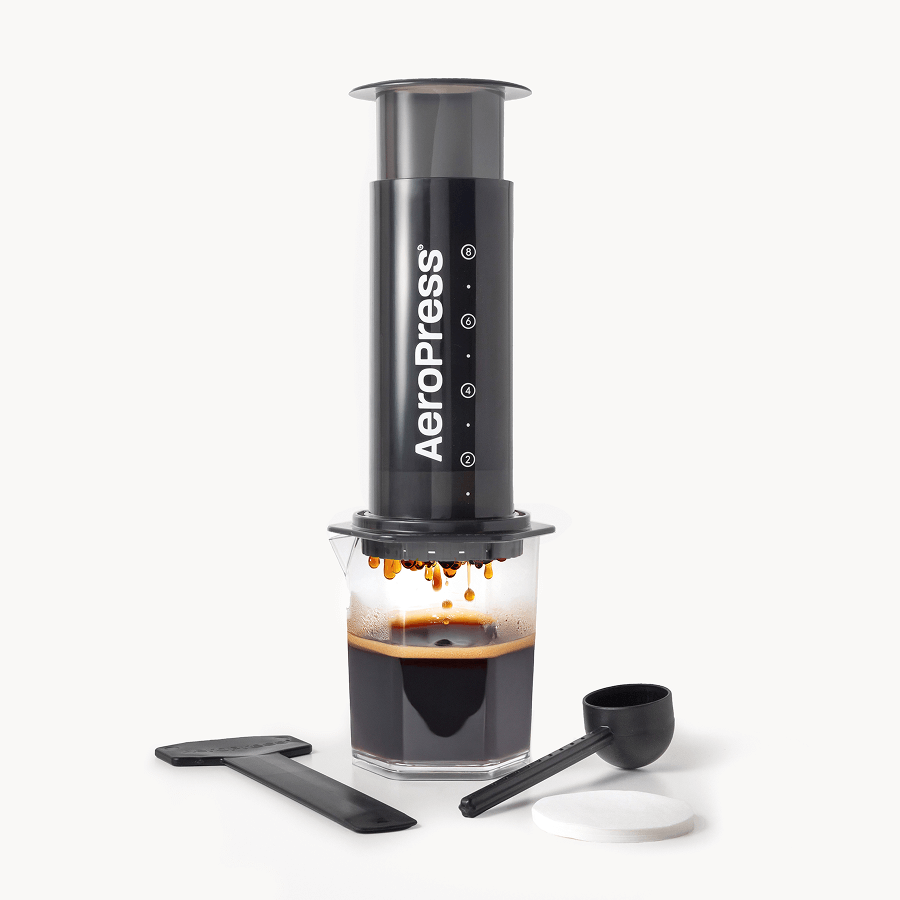
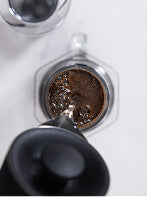
Prepare the AeroPress in the upright position. Add a single filter to the AeroPress cap, connect to the chamber and add coffee grounds. While some recipes work well with multiple filters or the AeroPress Flow Control Filter Cap, in this recipe you want to use a regular cap and only one filter. During the brew you want some of the water to flow through the grounds into the carafe to have enough room for the full water amount.
Step 2: Bloom the coffee
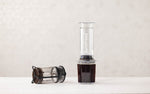
Add the AeroPress on top of a carafe or cup. Pour ~60 grams of water into the AeroPress and gently stir back and forth to fully soak all of the coffee grounds in a bloom-style phase.
Step 3: Brew the coffee
After allowing the coffee to bloom for around 30 seconds, slowly pour the remaining ~220 grams of water into the AeroPress. While pouring some of the coffee should start to drip through the filter. The water you pour should approach the top of the chamber, but have enough space based on the coffee dripping through. After all of the water is in the AeroPress, stir 10-15 times back and forth.
Step 4: Wait
Allow the coffee to brew for around 3 minutes. While brewing, do not add the plunger or otherwise create a vacuum to form in the chamber. You can add a piece of paper or some other material to help maintain heat retention, if desired. During the three minutes a good amount of the coffee should slowly work through the grounds.
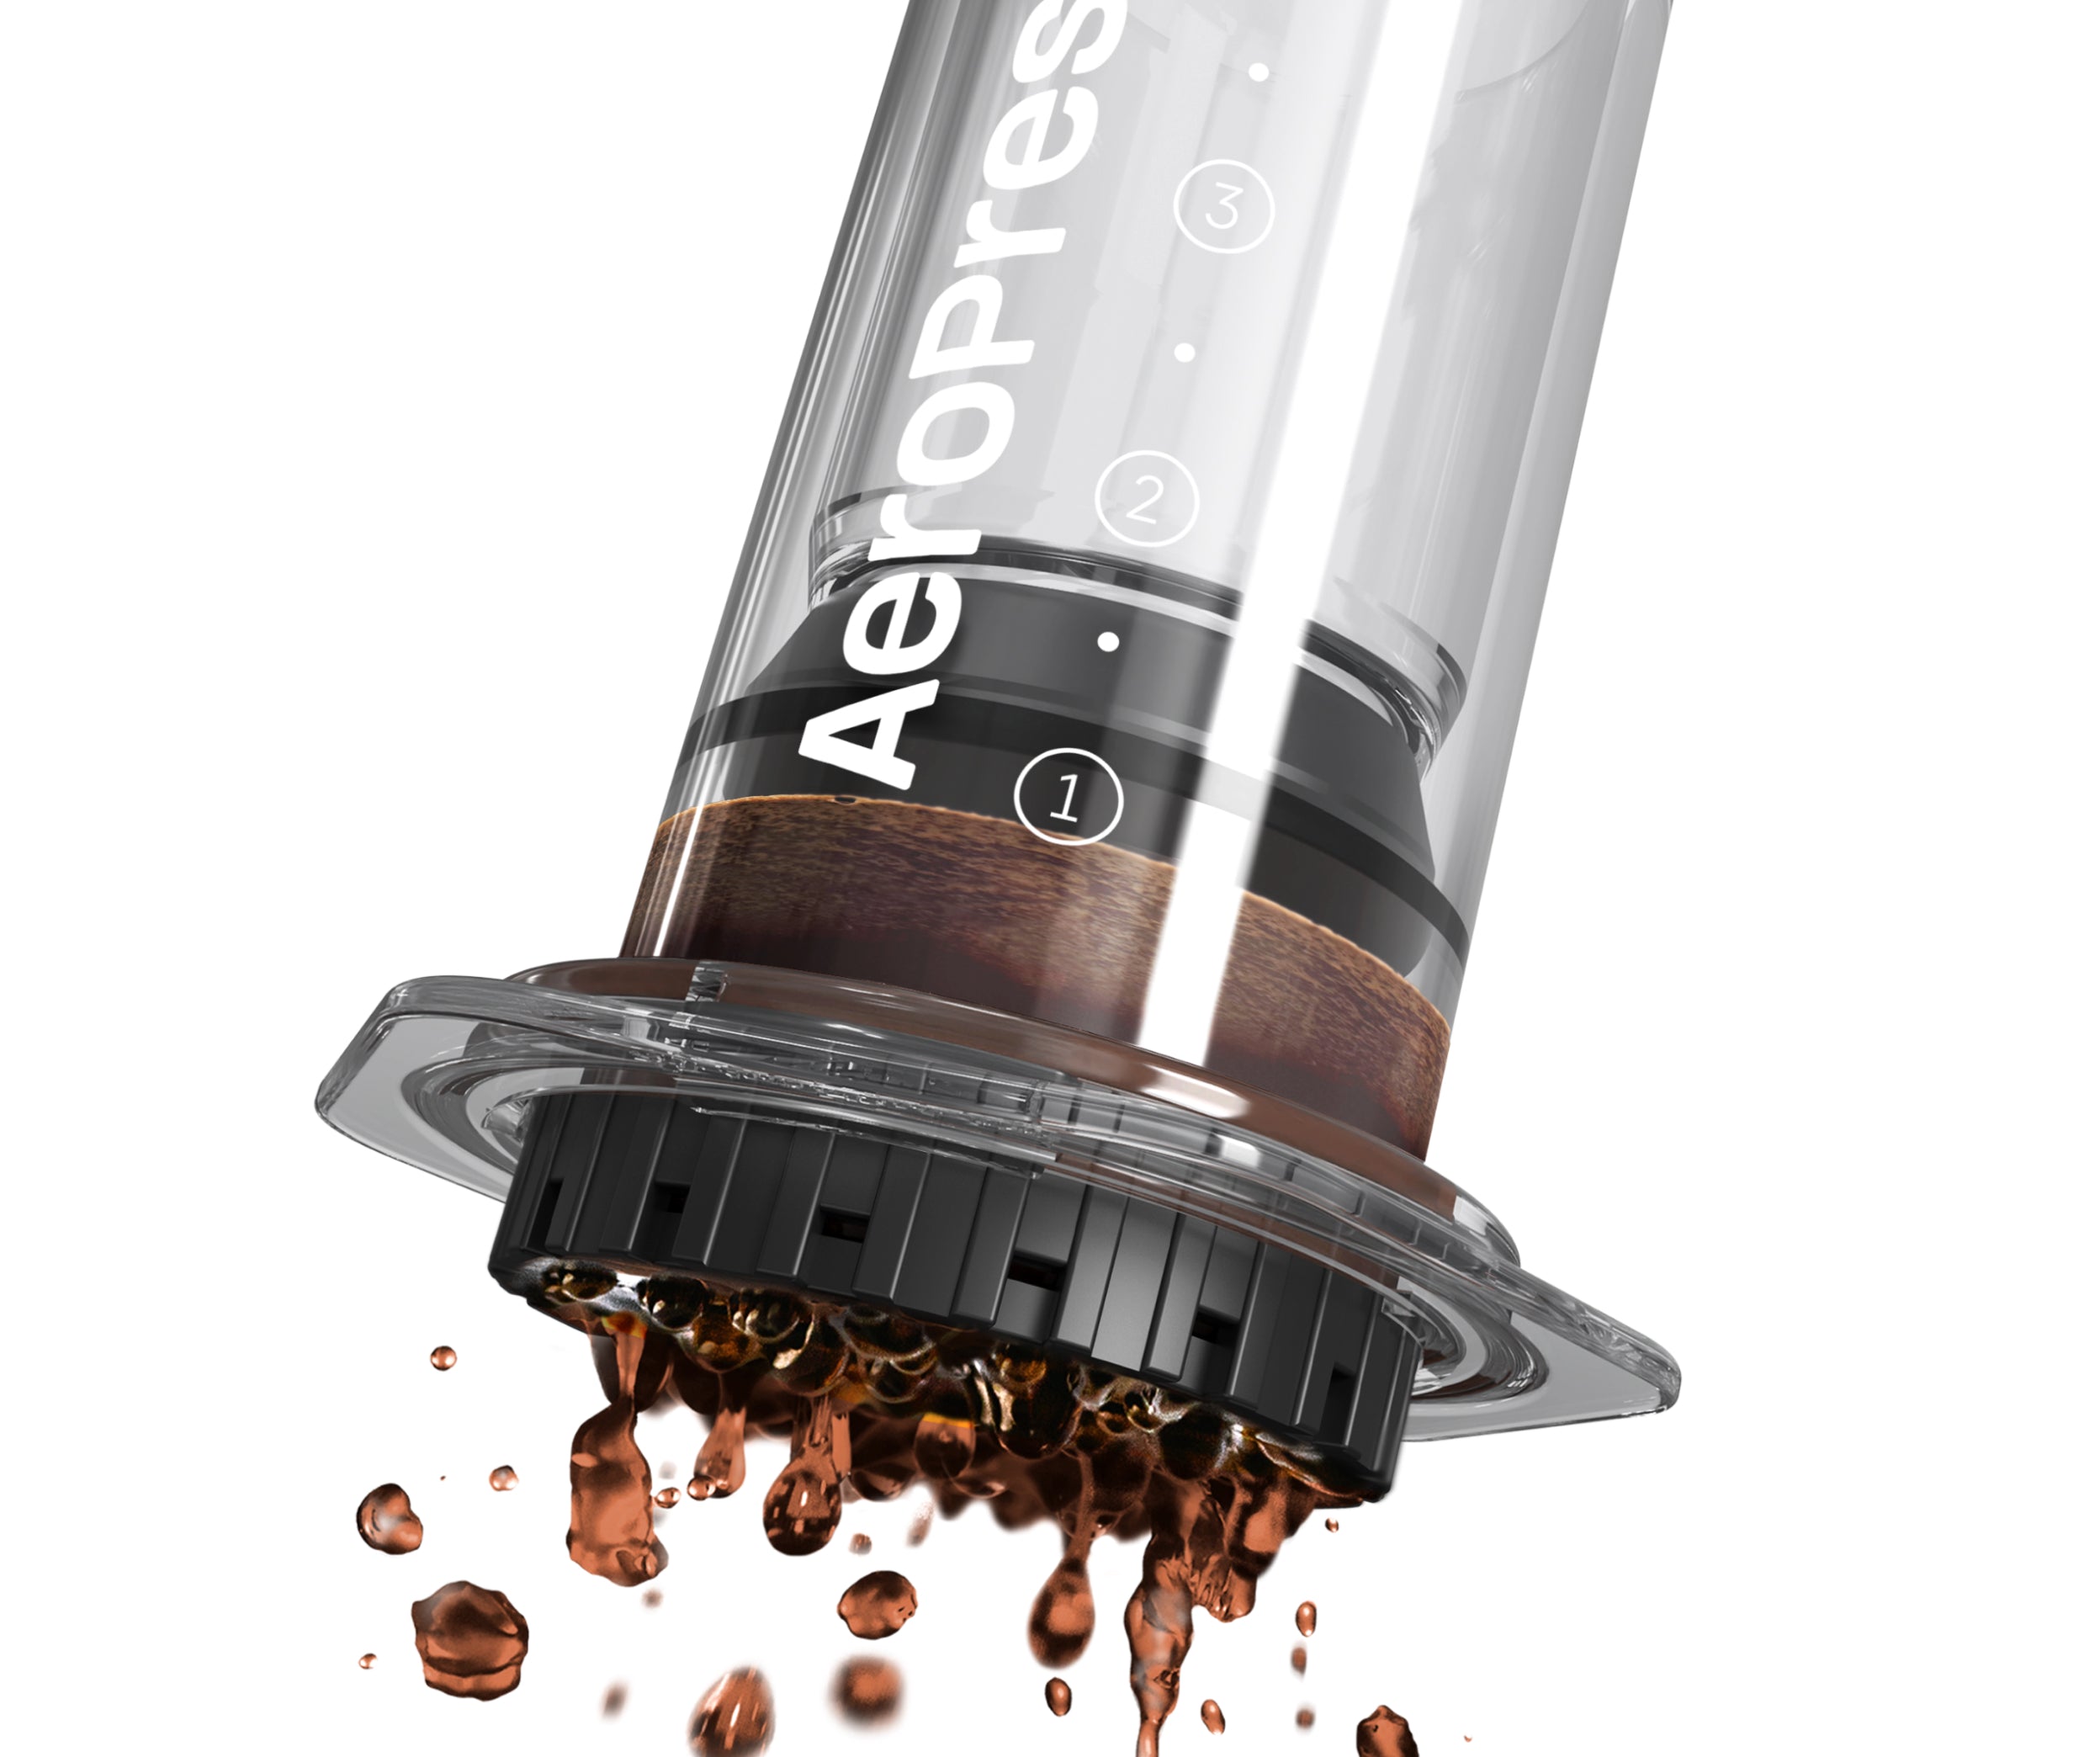
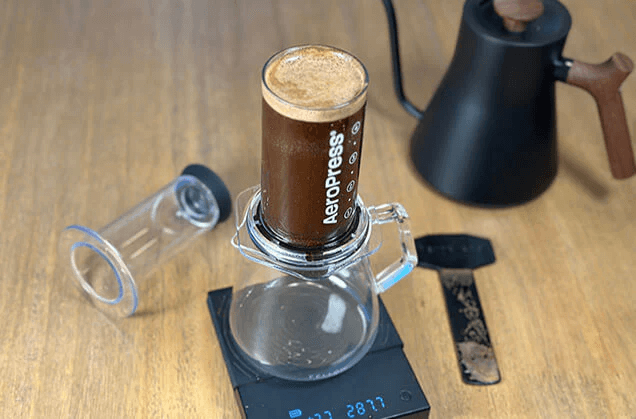
Step 5: Press the coffee
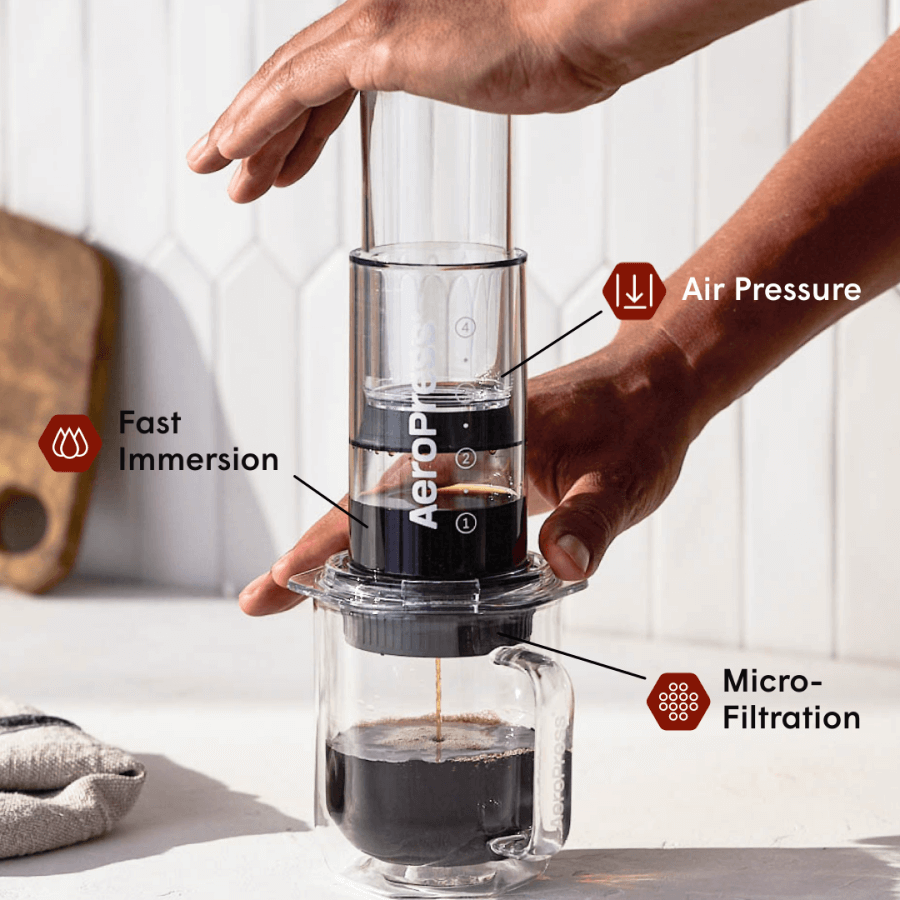
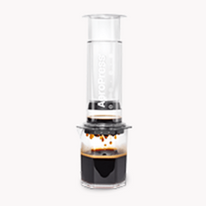
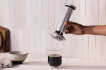
After around 3 minutes slowly push down on the AeroPress over 60+ seconds to press out the remaining coffee. You want to push as slowly as possible to reduce the the pressure applied to the grounds and create conditions most similar to a pour over.
Step 6: Swirl & enjoy
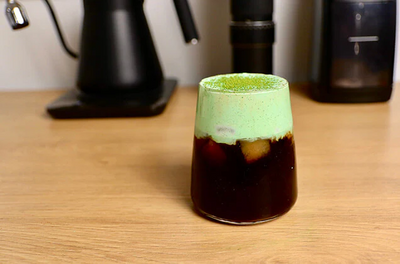
After finishing pressing, remove the AeroPress, swirl the coffee in the carafe or glass and enjoy!
Final Thoughts:
While trying to replicate a pour over style cup of coffee is not usually the goal when using the AeroPress, it is nice to have the option and speaks to the incredible versatility of the AeroPress brewer.

Shop The Post