


Gifting has never been easier
Perfect if you're short on time or are unable to deliver your gift yourself. Enter your message and select when to send it.
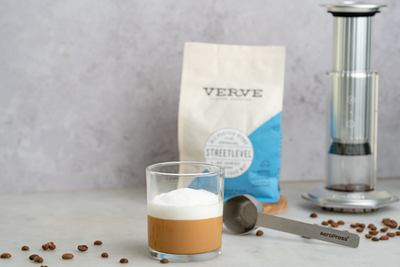
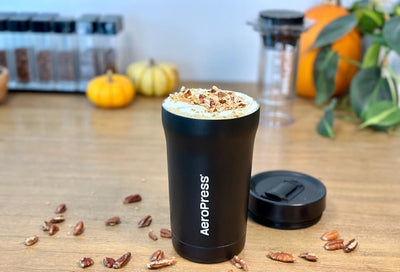
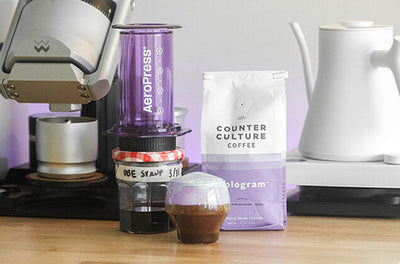
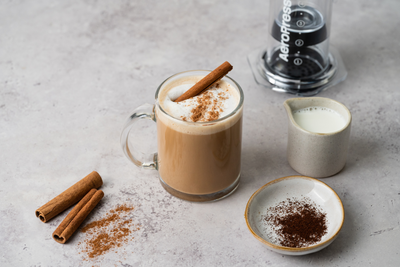
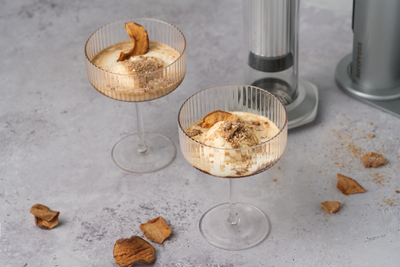
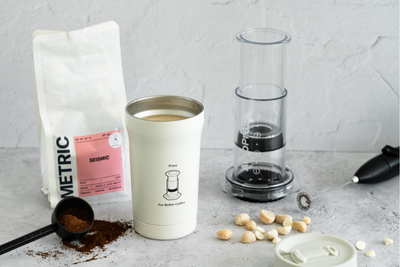
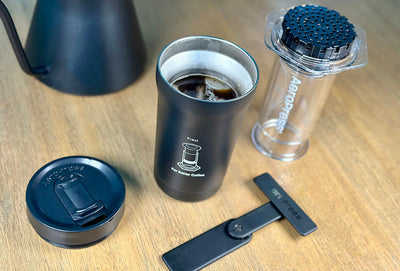
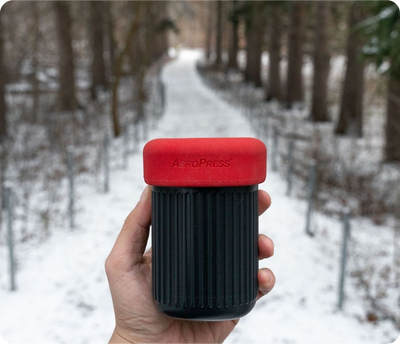
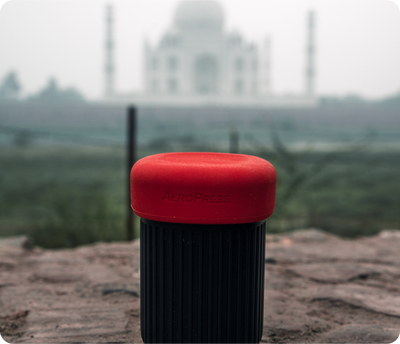
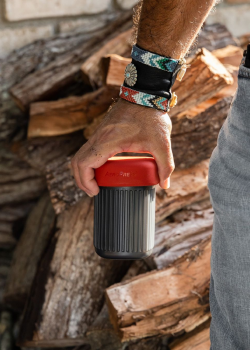
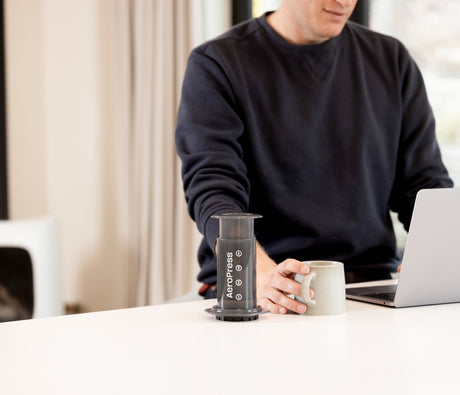
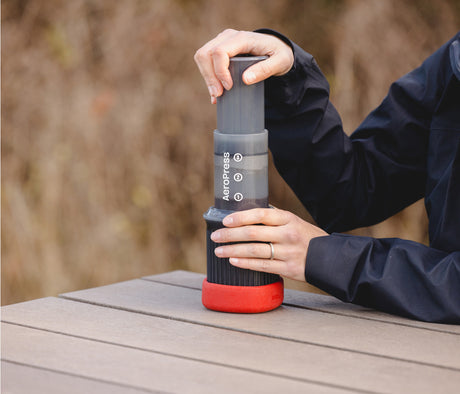
Where coffee isn't just a beverage; it's a vibrant community, an artful craft, and a travel companion.
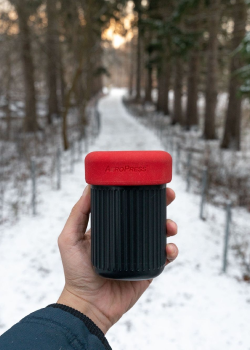
Canada
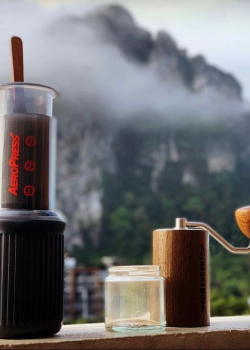
Greece
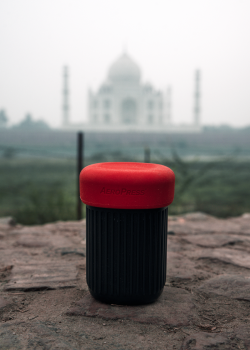
India
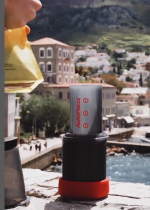
Morocco
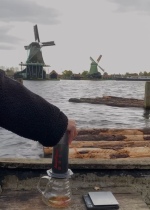
Netherlands
India
Canada
Greece
India
Morocco
Netherlands
India
Canada
Greece
India
Morocco
Netherlands
India
Canada
Greece
India
Morocco
Netherlands
India
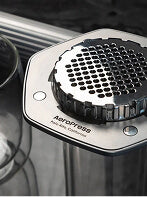
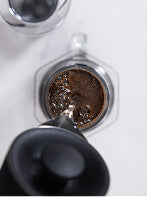
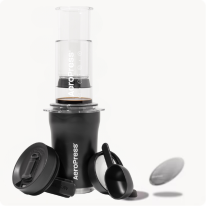
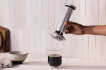
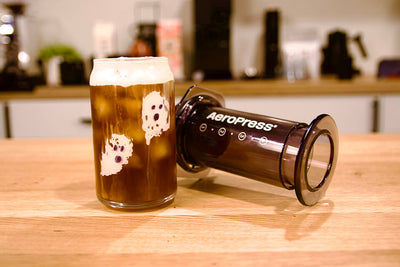
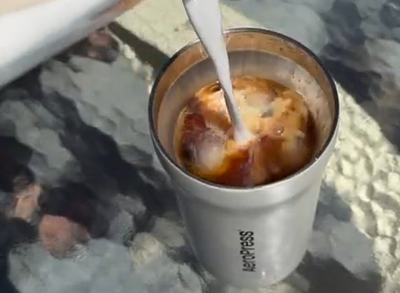
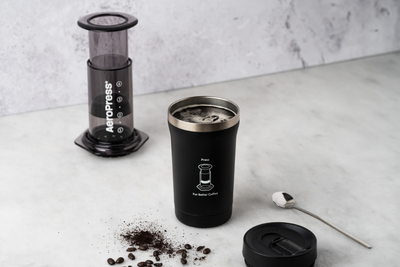
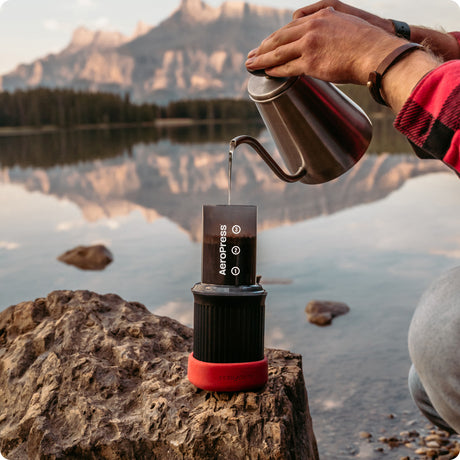
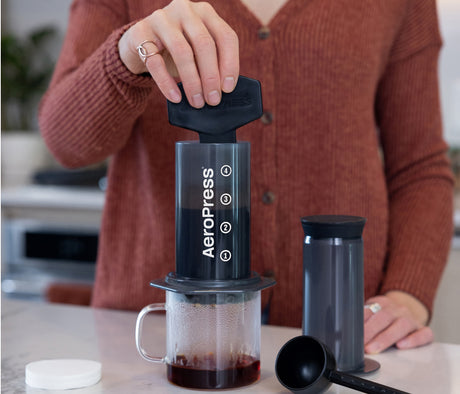
Get started with your AeroPress with a step-by-step guide on how to use it!


Register your product to extend your warranty to 2 years
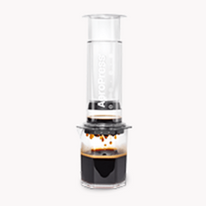
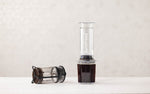
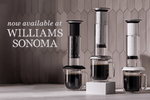
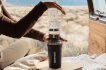
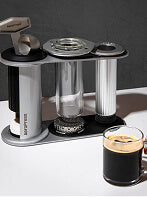
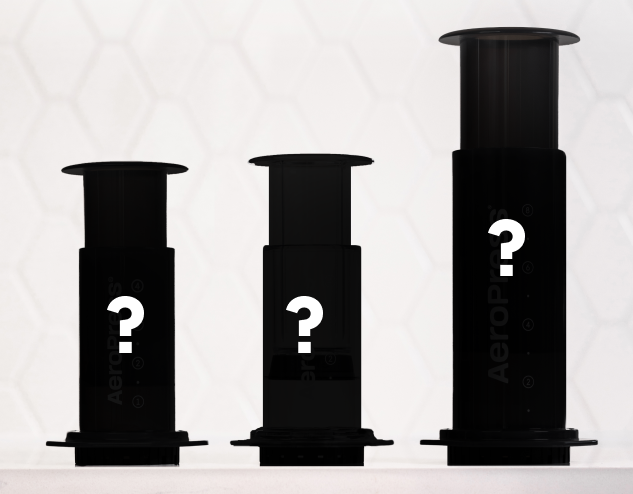
The AeroPress XL is a great option for coffee lovers who want to be able to brew a large batch of coffee at once.

The AeroPress XL is a great option for coffee lovers who want to be able to brew a large batch of coffee at once.
The AeroPress XL is a great option for coffee lovers who want to be able to brew a large batch of coffee at once.
The AeroPress XL is a great option for coffee lovers who want to be able to brew a large batch of coffee at once.
Cart
Your Cart is Empty!