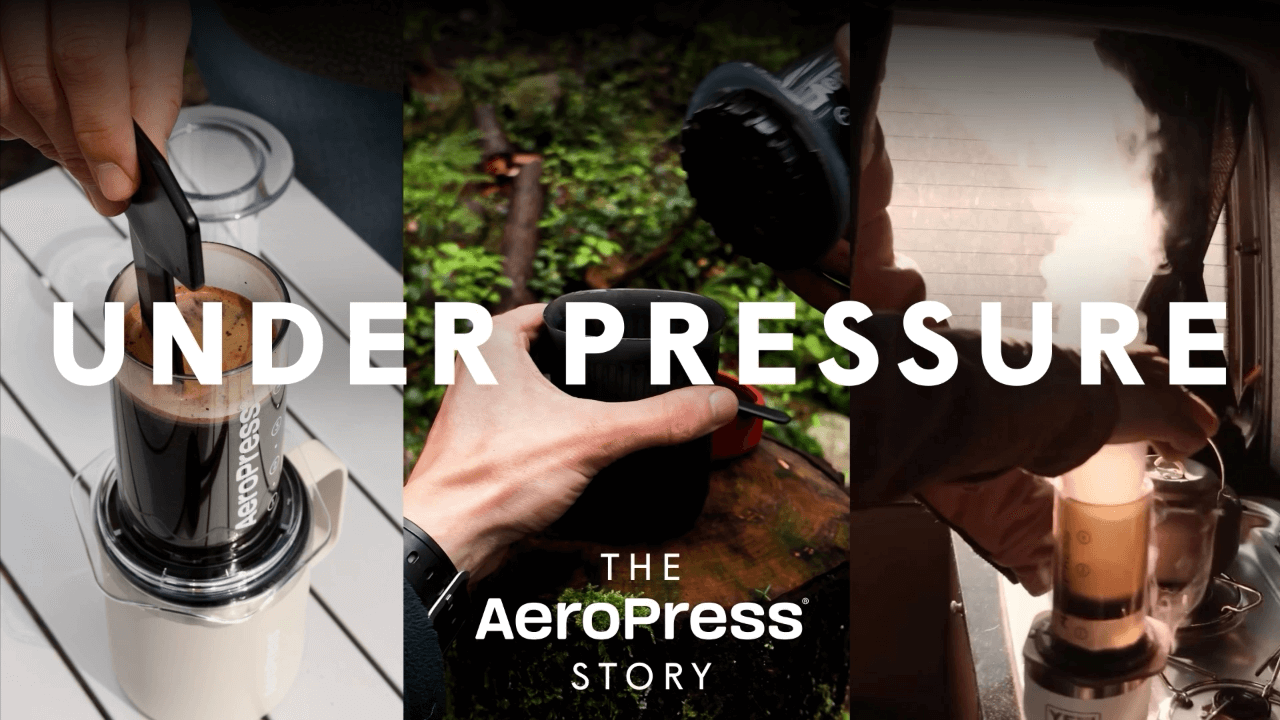
Built by a unique community of coffee lovers expressing their craft through art, recipes and competition, AeroPress has thrived for 20 years. Now we’re celebrating you — the makers, brewers and creatives who shaped our story.
Thank You For Pressing Better
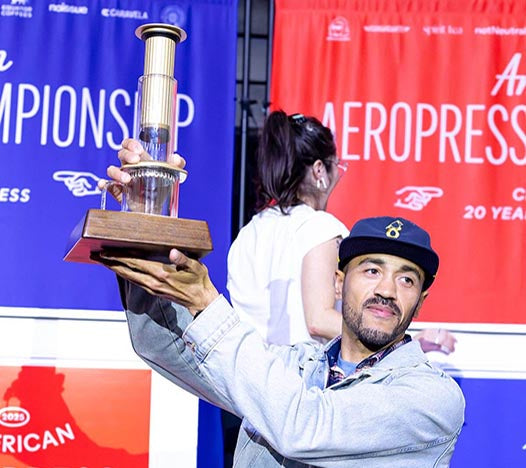
American AeroPress Championship Highlights + Recipes
Enjoy a full recap of standout moments and winning recipes in this celebration of brewing brilliance from around the United States.
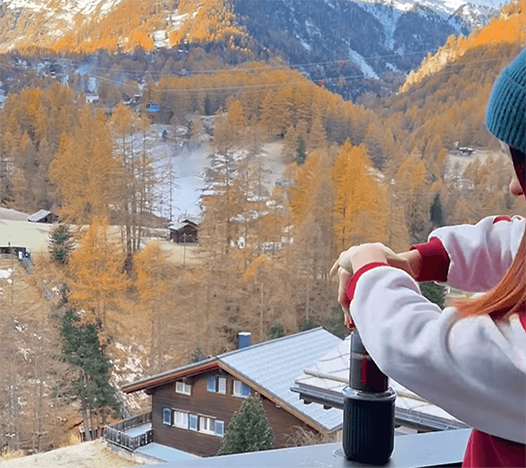
For this challenge, fans from Argentina, Germany, Denmark, Paraguay, Iceland and beyond reflected on their first sip of AeroPress coffee — capturing the moments, memories, and adventures that come with every brew.
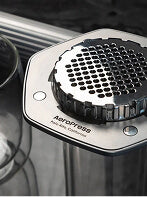
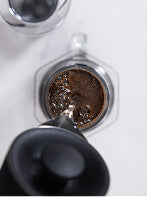
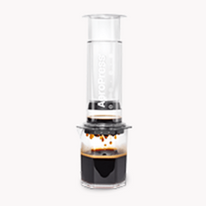
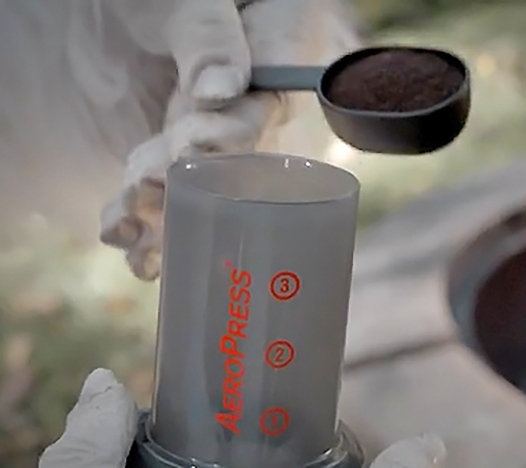
We challenged fans to take our fast brew and slow it down to appreciate every second of the process, from the initial water pour to the iconic rain of coffee into the cup.
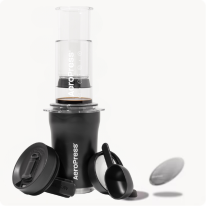
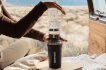
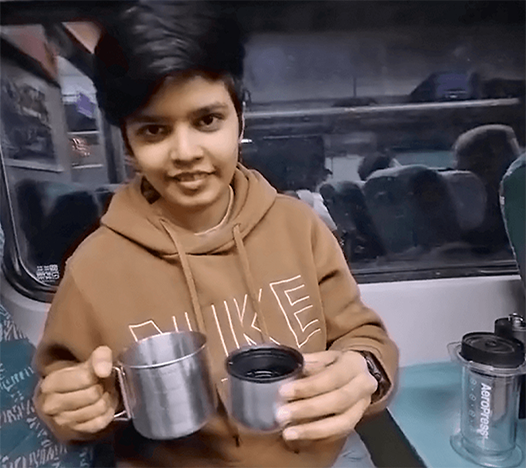
Baristas love AeroPress for its ability to create hundreds of recipes in a travel-friendly brewer. With this challenge, we asked fans to share their favorite recipes and the unique places they made them.